ADI Pilot II Pitch Axis Operation
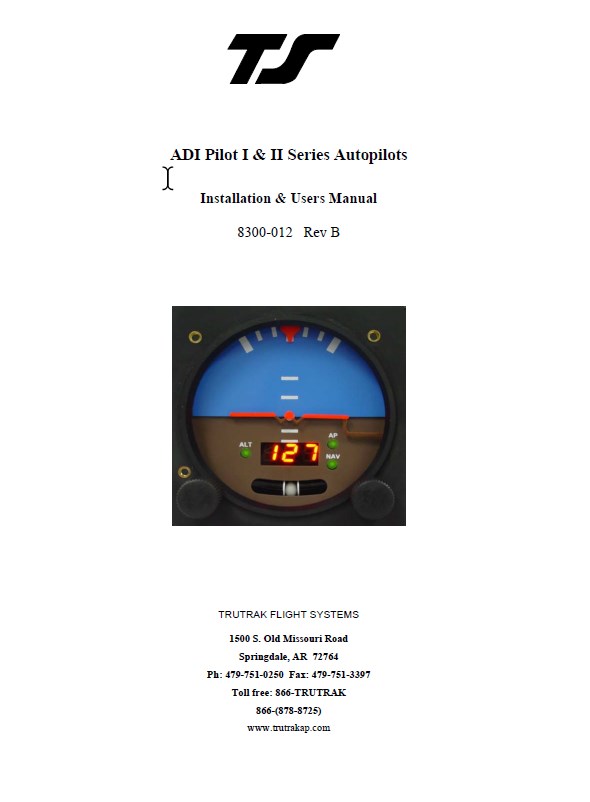
Once the aircraft is off the ground and at a safe altitude, the autopilot can be engaged. Pressing and releasing the lower left knob will engage the pitch axis of the autopilot and the “ALT” light will light up. The autopilot will now hold the current altitude. The pitch axis can be used independently of the roll axis. If there is a trim sensing servo installed and the aircraft becomes out of trim then you will see a moving bar on the left side of the display telling the pilot which way to trim the aircraft. The altitude hold must be engaged to show out of trim. When the difference between the current altitude and the initially selected altitude is more than approximately 50 feet you will see a moving bar on the left side of the display, showing which way to go to correct the difference in altitude. Many times on a long flight the barometric setting on the altimeter will need to be adjusted, the pitch axis does NOT have to be disengaged to move the aircraft to the correct altitude. Once the aircraft altimeter is correctly set, push and hold the left knob of the autopilot. While continuing to hold the knob in, the current altitude can be adjusted up to 90 feet in either direction.
Disengaging the pitch axis of the autopilot can be done in three different ways. Pressing and releasing the lower left knob will disengage the pitch axis of the autopilot. If the roll axis is engaged, pushing and holding the lower right knob for approximately 1-1/2 seconds will disengage both the roll and pitch axis of the autopilot. Another way to disengage the autopilot is with the Control-Wheel Switch. Momentarily pushing and releasing the Control-Wheel Switch will disengage both the roll and pitch
axis of the autopilot.
